Rocker Panel Guards
Installation Instructions
Tools needed for the installation
7/16 & 1/2" Wrenches and Sockets
Swivel
Drill Motor
1/4" Drill Bit
5/16" Drill Bit
1 1/4" Hole Saw
5/32" Allen Wrench
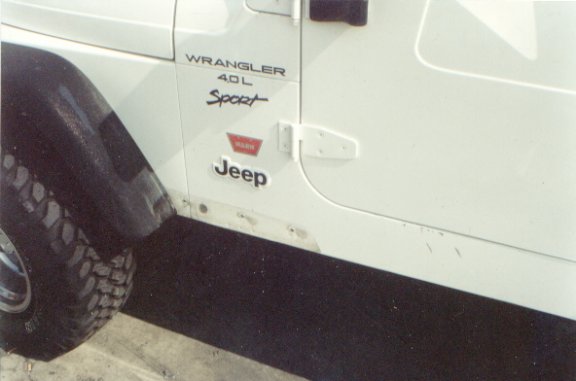
Figure 1 Remove stock extension flares
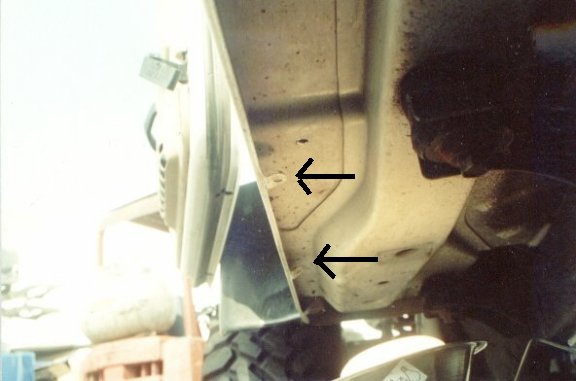
Figure 2 Bend lower tabs upwards so they are flush with the bottom of the body.
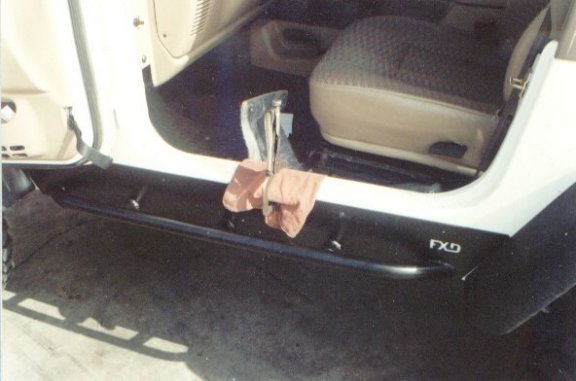
Figure 3 Position rockers between flares, making sure the lower portion of the rockers are up tight against the bottom of the body. Before drilling, move all wiring and carpeting out of the way.
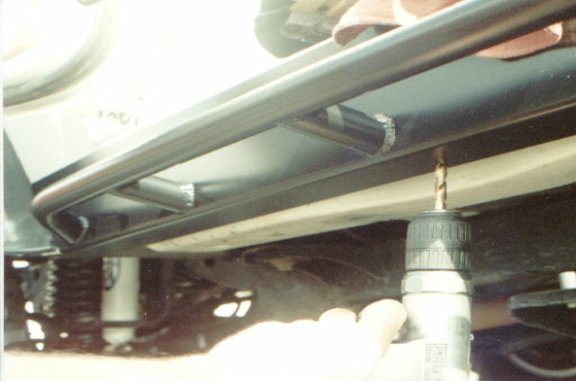
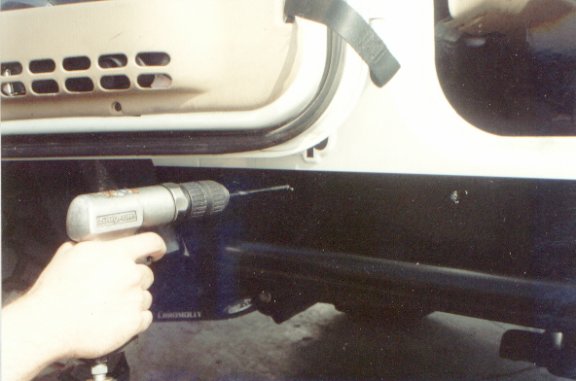
Figure 4 Using a 5/16" drill bit, drill upwards through the body. Using the nylon spacers, you will now need to install them between the bottom of the body and the rocker panel. The front nylon spacer with the angle will face the center of the Jeep. Install the bolts, leaving the front bolt out for the time being. Insert a screwdriver in the front hole to help hold the front spacer in place. Now snug the bolts to the body. The 5/16" nut and 3/8" fender washers go inside the Jeep. No washers will be used under the rockers. Make sure the Rocker Guard is tight against the body of the Jeep. Now drill all the holes on the outside of the Rocker Guard with a 1/4" drill bit.
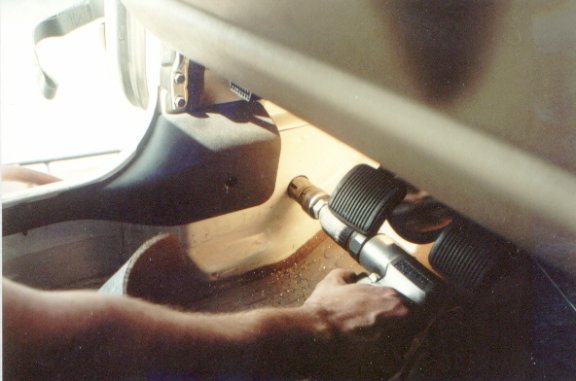
Figure 5 The hole under the letters "EP" will need to be drilled all the way through the inside panel of the Jeep. Using a 1 1/4" hole saw, go on the inside of the Jeep and hole saw the hole you just drilled from the outside through. Do not cut the outer panel! Drill through the inside panel only!
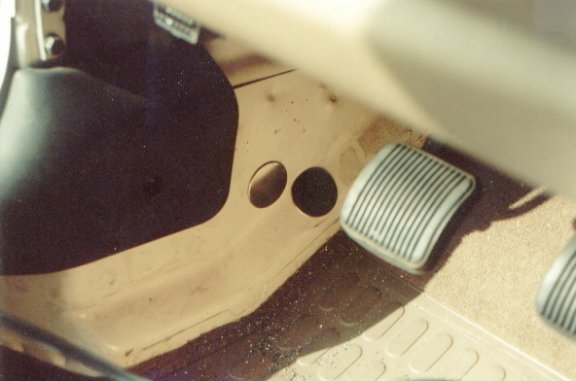
Figure 6 Now hole saw the second hole 1 1/4" forward and 1" down. The hole will be used for the lower bolt coming up through the bottom of the body.
Figure 7 Using a socket and a piece of tape, tape the 3/8 washer and nut to the socket and install through the first sawed hole for the side 1/4" cap screw. Do the same for the front sawed hole. Using the 5/16" bolt and 3/8" washer, you will need to use a swivel socket with this hole. You will need to be very patient with starting these two bolts through these holes. You might need a magnet if you drop any of the hardware into the body. The rest of the 1/4" cap screws will use 1/4" fender washers for the inside of the body. Now go back and tighten all the bolts and install the 1 1/4" hole plugs inside the body. |